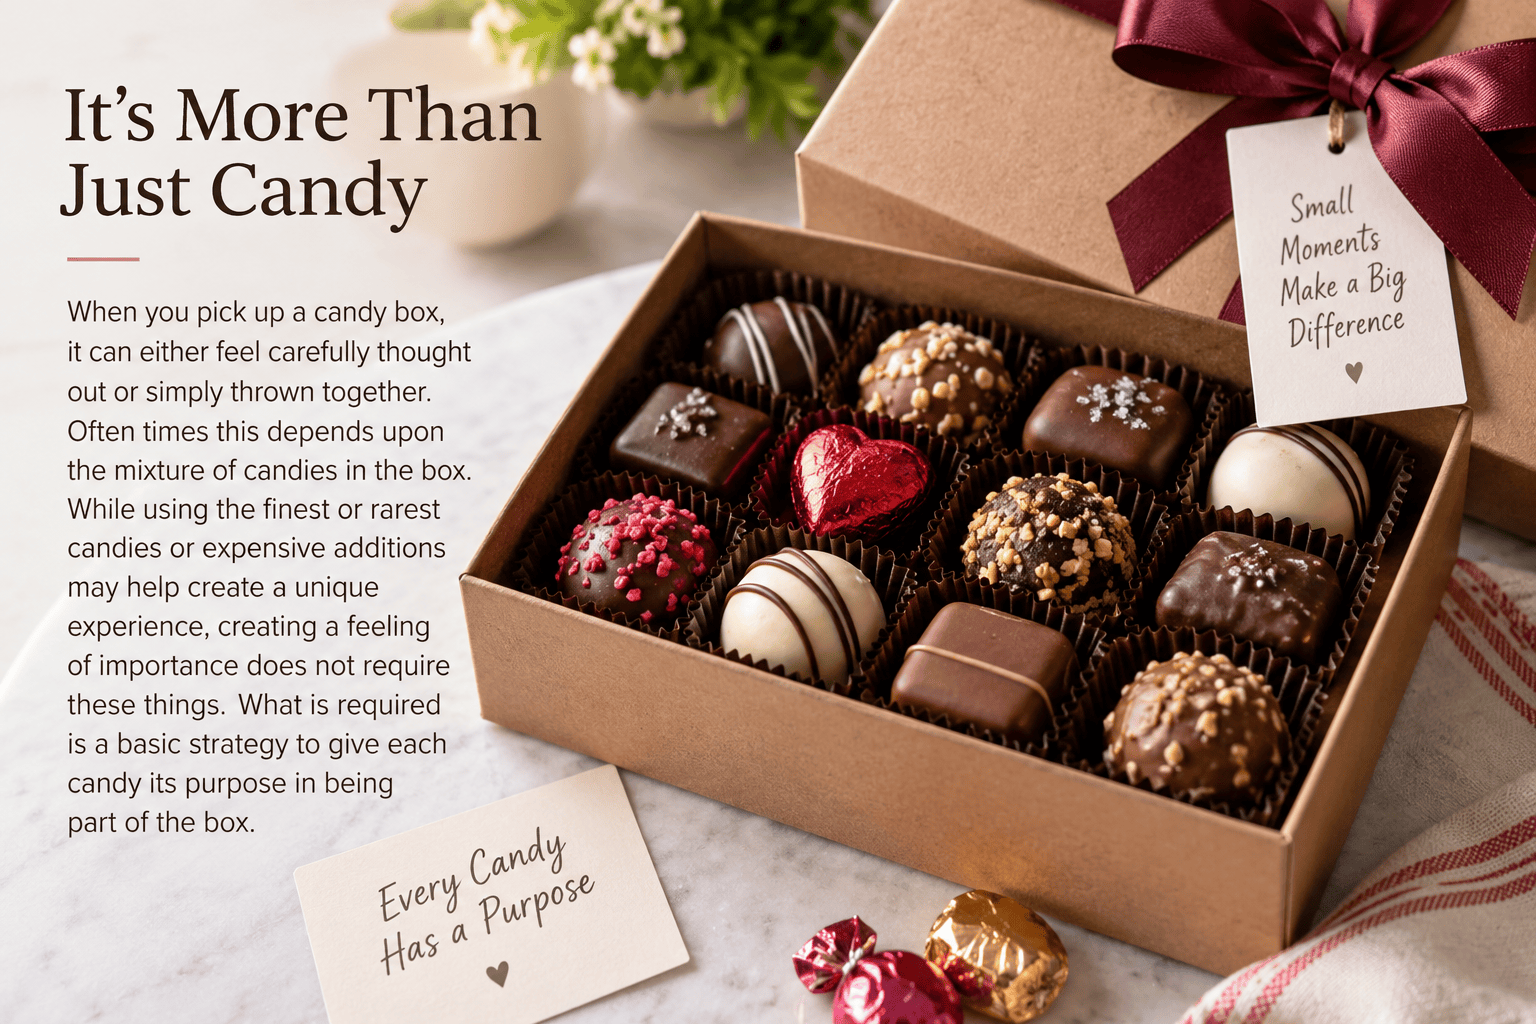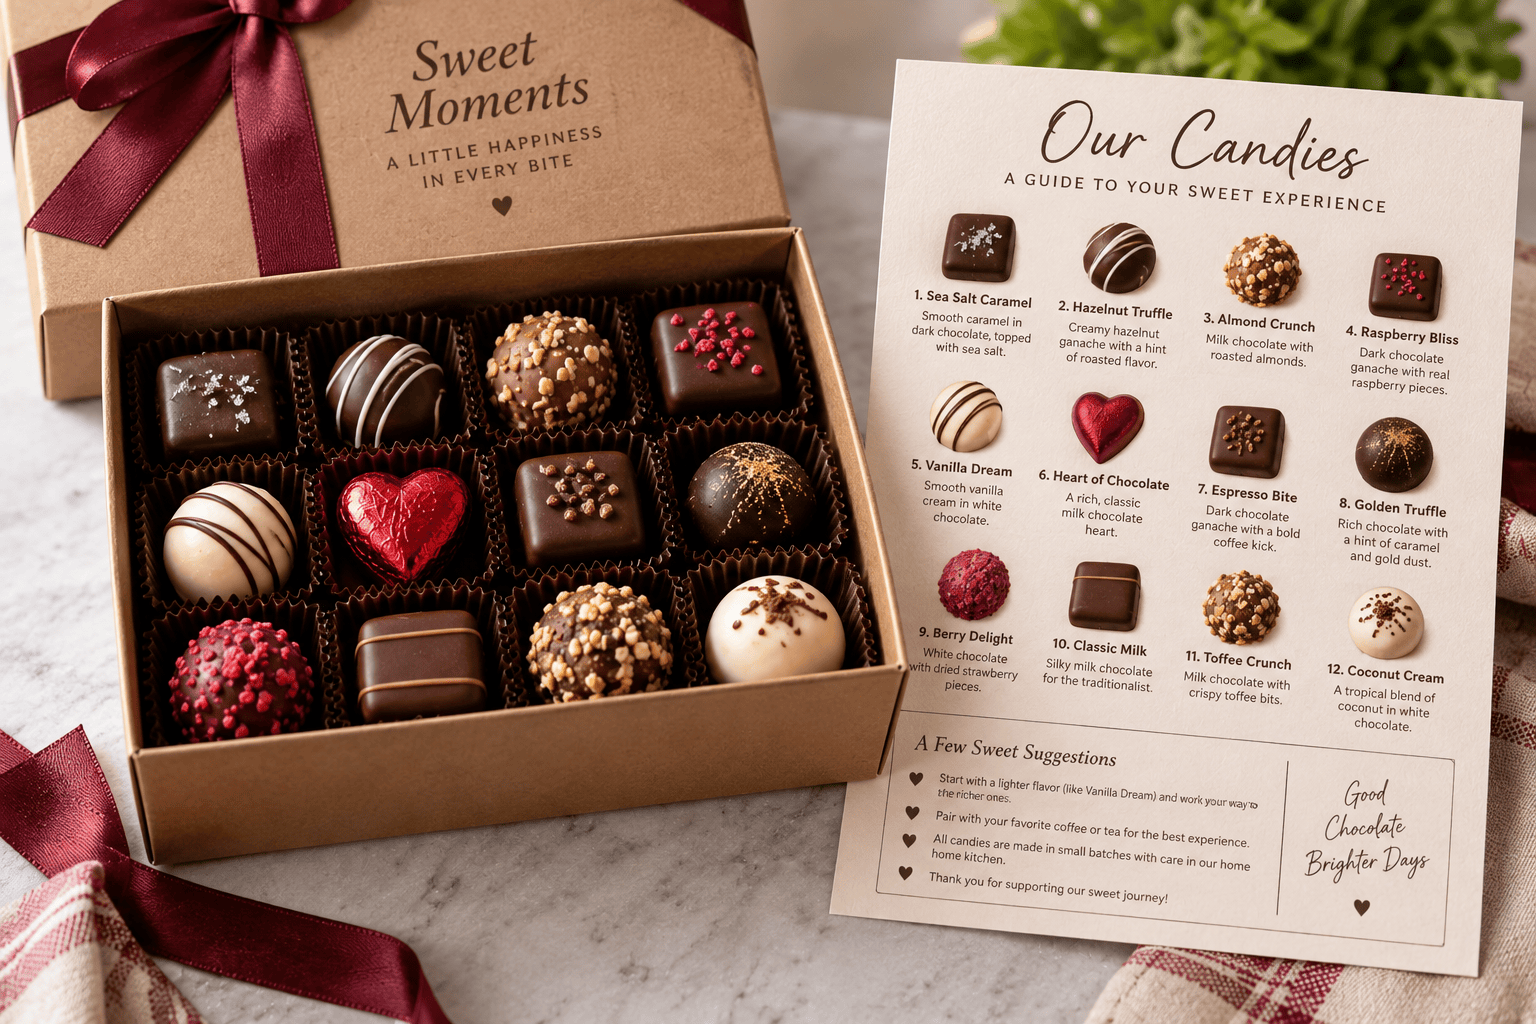
Is Your Candy Box Safe?

If you’re going to buy a lot of candy boxes, and your candy has no wrapper (the candies “touch” the box), you need a candy box that is safe for food contact. A regular cardboard box is not always suitable for unwrapped foods.

When buying from a retailer or online vendor, simply ask: Will the food come into contact with this box if I don’t use a liner? The seller should provide information that supports their response. Words such as “food-safe,” “direct food contact”, etc., support the answer. Simply stating the packaging is of “high-quality” does not necessarily mean the box is safe for direct food contact. The description may refer to appearance, durability, or how well the box retains its shape.

Wrapped candies have a layer of protection between the candy and the cardboard box. Bare candies do not. Candies that are greasy, caramel based, chocolate-based, etc., will release oils or moisture onto plain paper. Paper or foil cups, waxes, approved liners, etc., can serve as an intermediary layer to protect both the candy and the cardboard.

Another important factor many consumers overlook is odor. Strong ink, adhesive or chemical odors can migrate to the candy and affect its taste. Before ordering a large quantity of candy boxes open a sample candy container and store it in a normal area. Allow the aroma to dissipate over time. If the scent remains strong, request additional documentation prior to purchasing/using any containers for food storage.

Prior to filling with candy, the container itself also needs to remain clean. Unused candy boxes should be stored away from dust, water, insects, cleaning products, strong-smelling chemicals. Covering and storing on shelves or counters rather than floors helps maintain cleanliness regardless of how clean the area appears to be. Prior to reuse or resale check used candy boxes for stains, dampness, creases/bends, pest damage.

While allowing customers to visually inspect the contents through a transparent portion of the packaging provides convenience, it creates one more component requiring evaluation. Be certain the plastic film is rated for food-contact applications and securely attached. Poorly secured adhesives, sharp edges on the film or a hazy plastic panel can detract from an otherwise acceptable product presentation and cause suspicion of poor handling practices. Clear windows can be beneficial when properly constructed.

In addition to aesthetics size affects the ability to safely pack and transport candy. Packing candy too tightly or having candies fall free within the box can cause unnecessary stress on the packaging materials. Dividers/trays can assist in separating flavors and aid in identifying which type(s) of candy exist within the box. Allergen labeling requirements apply to candy packaging similar to other packaged foods.

To minimize potential risk associated with purchasing large quantities of candy boxes perform testing using actual product in a few samples prior to finalizing orders. Once tested fill them with product and seal. Move them around as would during shipping/storage. Leave sealed for typical amount of time prior to opening and inspecting for stains/grease marks/odors/loose seams/loss of flavor. Testing product in packages prior to purchase can save money lost due to spoiled products as well as customer dissatisfaction.

Don’t let shipping returns become more costly than sales

A sale feels wonderful. But then your buyer wants to ship the item back. At that point, an ordinary purchase can become additional labor, added expense, and damage to the product upon arrival. However, using proper packaging supplies makes this difficult portion of the process much easier. In fact, by preparing for the possibility of a return prior to the initial delivery, a retailer can ensure their products remain safe, assist the buyer, and reduce unnecessary waste simultaneously.

To begin, think about the products you have available for sale. For example, soft products (shirts) usually require nothing more than a mailer that includes a secondary adhesive tab. Once the buyer opens one side of the mailer he/she retains the bag; and when they wish to return the item simply closes the other side utilizing the remaining adhesive. Items requiring special care (breakables) typically require a solid external container along with protective internal padding so the buyer can reposition the padding over the returned product. Include a small diagram with instructions regarding how all components fit together. Clearly defined processes are important since most of your buyers do not package boxes on a regular basis.

Secondly, consider if the packaging supply provided is capable of opening without causing damage to the contents. One method to provide buyers with a clean area to remove a strip is to include a self-opening tear strip. Additionally, providing a tear strip eliminates the risk of having someone use scissors and potentially damaging the product. If tape is required to be removed to access the interior of the product provide sufficient separation between the product and the upper surface of the box lid so that tape does not adhere to both surfaces. Packaging materials should allow for the safe removal of packages from their containers, rather than create a challenge.

Finally, clearly designate a location on the exterior of the package for returning customers to affix a new return label. Provide one flat section on the exterior of the package for placing new return labels over previous ones. Providing one flat section prevents displaying two barcode labels at once. Place return procedures either inside the original packaging or provide a short memo indicating where to find them. Indicate specifically what wrapping, pads or bags must accompany the product during return. Properly guiding a customer can eliminate a loose product from falling apart during its second journey.

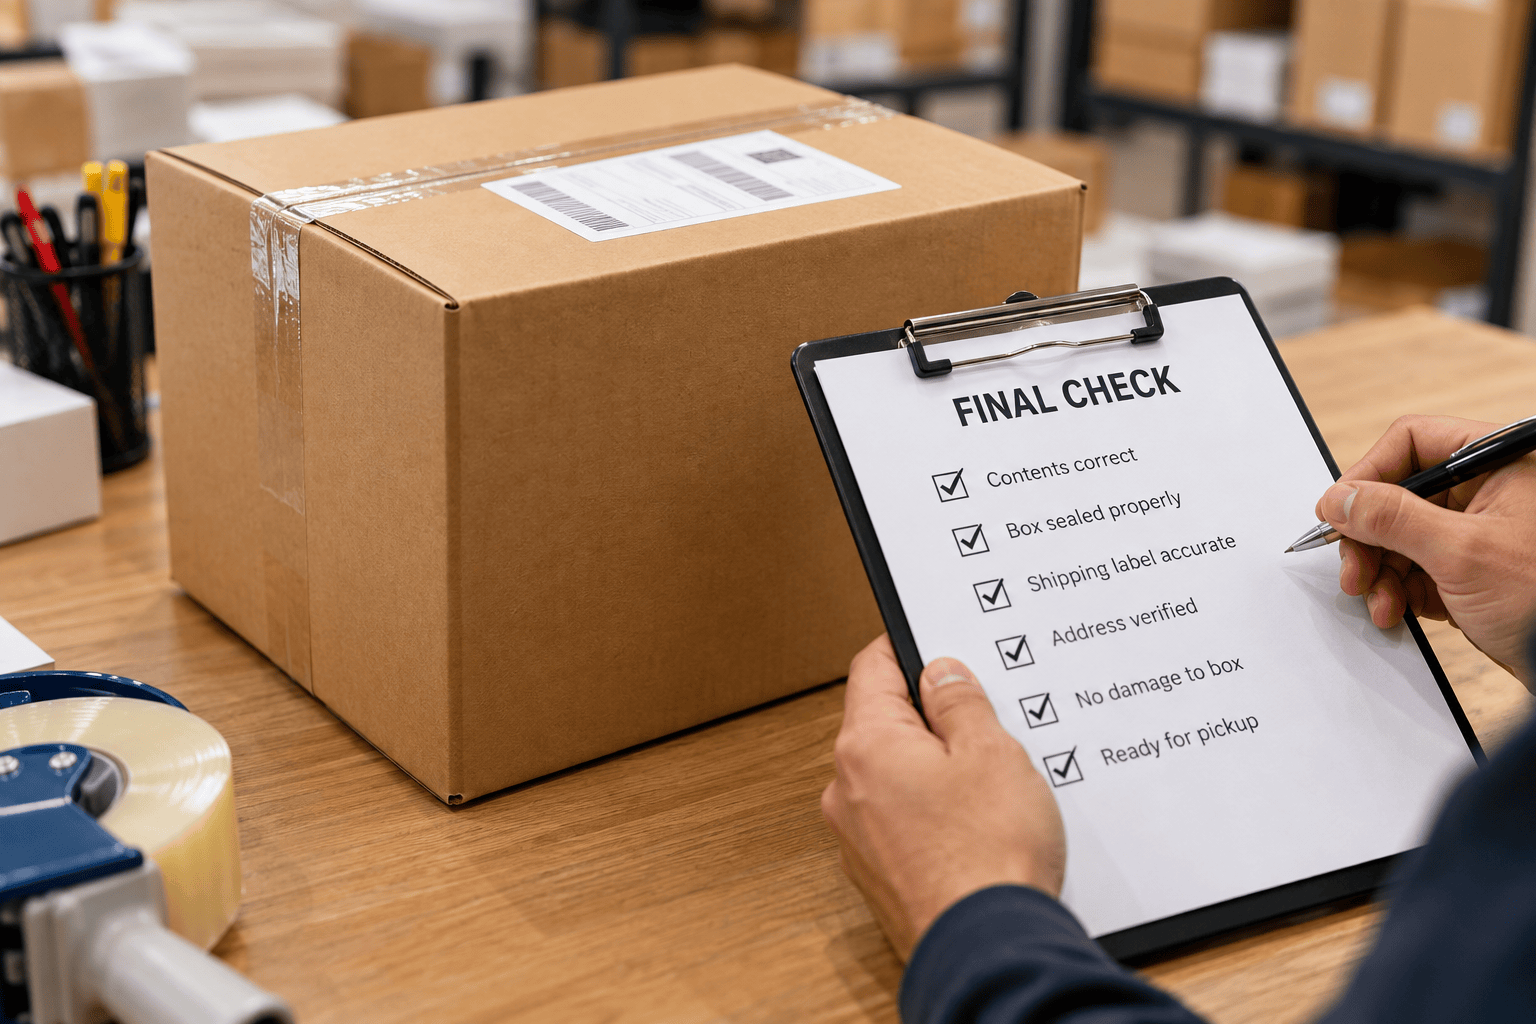
Additionally, testing the entire process is beneficial as well. Have a staff member responsible for opening the shipment and reading through return procedures and sealing it again as needed prior to carrying it around. If that employee finds it difficult, possibly another shopper may experience difficulty as well. Look for damaged bags, weakened seams, return labels that are difficult to locate, and/or padding that cannot maintain position. Testing a few items can identify potential problems before numerous shipments depart your store.

While “return ready” packaging seems like it would be about adding additional materials to your packaging system… it is really about getting every component to serve as least two purposes whenever possible. A durable mailing envelope could deliver a shirt and transport it back to you. A molded paper insert can encase a product while identifying where it goes next. The simple application of various packaging supplies can minimize stress experienced by your customer, while allowing your company to obtain merchandise in better condition. As mentioned earlier, making the process of sending products back easier reduces the likelihood of creating messes, reduces guessing games associated with receiving damaged products, and provides greater opportunity for selling used products.

Stop Wasting Money On Shipping Air

Finding the right box seems like an easy decision when shipping, but selecting the wrong one could cause you a lot of problems before you ever get the item to the truck. Using a box that is larger than what you actually have to pack will require additional filler material; will take longer to pack; and possibly increase the cost of the shipping rate. Conversely, if you select a box that is too small (or “too tight”) for the item, it could apply pressure to the item itself and there would be limited room for the addition of protective materials. So your job is not to pick the largest box available. Your job is to determine which box provides the best fit.

Packer holding a mug beside boxes labeled “TOO LARGE,” “BEST FIT,” and “TOO SMALL”
A packer compares box sizes while preparing a fragile item for shipment.

First measure the dimensions of the item(s) you plan to ship. Take into consideration whether the item has a handle, lid, or any protruding parts. Then add any needed space for the type of padding the item requires. For example, a soft t-shirt might only need a little bit of room around it to protect it during shipment. However, a glass jar may require enough room to wrap safely, and possibly a different kind of protective cushioning. After determining how much space you need around each item based on their individual requirements, begin looking at various types of cardboard boxes to find one that fits those measurements.

You cannot assume that an item’s weight is directly related to its size. For instance, a small metal part may weigh considerably more than a large stuffed animal. Therefore, do not base your assessment of an item’s strength solely upon its appearance. Instead check the weight limit indicated on the bottom of the box when it is shown. Lightweight items generally will do fine in standard single-walled boxes. Items that are heavy, sharp or fragile, however, may necessitate the use of boxes made from thicker materials or using two separate boxes for added support.

Once you have found a suitable box, test its ability to hold the item securely by placing a layer of protective material on the bottom of the box, setting the item in place and then adding padding around all sides until no gaps remain. Shake the box gently. If the item does not budge, the box should be able to withstand normal shipping conditions. Additionally, if shaking the box causes the sides of the box to sag or appear strained, do not attempt to secure them with excessive amounts of tape. Instead go back and look for a better size.

In some cases, the shape of an item can provide guidance as to which type of box would work best. For example, long objects tend to fit best within narrow cartons; flat items work best within short boxes and multiple smaller items can be safest when divided up with dividers. Maintaining a number of commonly used sizes on hand can significantly reduce the amount of time spent packaging each day without having to purchase and store unused inventory in excess quantities.

Packaging workspace with boxes and callouts reading: "How the shape for a lantum guides us the choice of box," "Commonly used sizes," "Langron shape guides box to choose of box," "Short flat box for flat objects," and "Dividers for 4 mult all items."
A packaging workspace demonstrates how box shapes, sizes, and dividers match different items.

Finally, before purchasing a large quantity of boxes, try packaging one sample and weighing it both with and without the added weight of filler and tape. This one-time experiment may reveal a weakness in the construction of a particular wall or identify an area where corners are too tightly confined prior to making the same mistakes for numerous shipments.

Choosing an appropriately sized box can benefit not only the contents inside but also the customer receiving the package. By minimizing excess packaging materials, saving storage space and reducing waste sent to landfills, you also create an attractive, clean and easily opened package that can be recycled.

Is it still good enough?

There’s a clean box sitting next to the recycling bin. It looks like it could still hold another order. There are many shipping boxes which can be reused; however, all need to be checked before being reused.

Blue recycling bin and cardboard box outside a suburban home
A full recycling bin and cardboard box await collection in a suburban driveway.

Pick up the empty box and gently apply pressure to all sides. If it holds together as expected (you feel resistance), chances are the cardboard is still in great condition. However, if it folds easily under your fingers or collapses at all, there is a possibility that the inner layer was crushed, making the entire box less than ideal. In addition, a damaged corner or bottom seam of a box may allow the contents of a second shipment to fall through.

Be careful of the corners and seam. Any tears or splits in these areas are likely indicative of weakened structural integrity. Also, old adhesive often pulls off paper and cardboard, creating additional weakness in the box. If the bottom seam does not seal properly, select a different box.

As far as damage caused by moisture, there are typically visible indicators. Dark patches, ripples/waves in the surface, peeling layers, and/or a musty odor, etc., would indicate potential problems. Water damage to a box may render it completely unusable-even though it appears dry. In addition to water, oil, food residue, dirt, and other types of odors can also render a box unusable.

Your decision on whether or not to use a reusable shipping box ultimately depends upon what is being shipped. For example, a soft t-shirt can travel quite safely within a clean box showing slight wear and tear. On the other hand, items such as glassware or extremely heavy parts require boxes that provide significantly greater support than a worn-out box.

Do not assume that just because a box survived its first trip that it will be safe to ship another package within it!

Any pre-printed information left on the box including addresses, barcodes, and shipping labels must be either completely removed or completely obscured. Some machines will read an older code and incorrectly route your package.

Sealed cardboard box labeled FLAMMABLE LIQUID 3 and UN 1993
A sealed cardboard box displays a Class 3 flammable liquid shipping label marked UN 1993.

You should inspect for any type of mark related to hazardous materials or restricted products. Although this may seem obvious, the federal government has specific rules regarding labeling requirements and these can vary depending upon carrier and product restrictions. Therefore, you should always inquire about any marks you don’t recognize.

Once you have cleared the exterior of the box, simply fold down the flaps and verify that the box maintains its original form. All four walls should meet squarely without any noticeable gaps or twists. Apply fresh packaging tape across the center seam along with the two side seams at both the top and bottom.

New tape cannot salvage a severely damaged box but can adequately secure a clean and sturdy box. By maintaining a clean box storage area and organizing boxes by size, businesses can greatly simplify their efforts to reuse shipping boxes. Furthermore, discarding any weak or damaged boxes immediately prevents employees who are working under time constraints from selecting an inferior box.

Shipping boxes can reduce waste and create new uses for previously discarded items. Your safest option is not solely dependent upon how long a box has been stored. While one box may continue to serve for years, another may fail after only one trip due to exposure to excessive moisture. Always inspect the strength, cleanliness, markings, and compatibility of a reusable shipping box prior to allowing it to ship another package.

What Should Go Inside Candy Boxes?

If a candy box seems ready to be placed into service after it has been folded, does the food go directly up against the box? Before you put your next batch of candies into service, this is the first thing you want to know about. Whether the container itself, the treat, or if the candy already has some sort of wrapping will determine the answer.

Box of Sweet Joy assorted artisan candies with colorful cartoon animals and candy illustrations
A vibrant box of Sweet Joy assorted artisan candies on a wooden table

Candy boxes provide great ways to store treats and arrange them neatly; however, it takes attention to detail to get the interior set-up correct for the type of candy and how it will be stored in that particular box.
The first step is to find out if the box manufacturer says it is intended for direct food contact. If the box is only labeled as a packaging material and has no lining, there could be a need to insert a safe liner between the cardboard of the box and the candy. Do not assume anything based upon the appearance (color) or finish of the box. Check with the vendor who supplied you with this packaging product to see what type of product it was designed to store.

When using wrapped items, placing these items in a container such as a candy box provides a simple solution for arranging. However, storing loose items like chocolate bars, fudge, caramels, etc., require careful consideration. Using individual paper candy cups is one possible solution to allow space between each treat. When storing loose items, you may wish to use a food-safe pad either under or over the candy items. This helps prevent friction damage to the items caused by typical handling of the products.

Some candies have oily or sticky components which can cause discoloration and staining on paperboard. Even though those stains do not necessarily affect the quality of the candy, they can detract from the appearance of the packaging. Installing a grease-resistant liner in the bottom of the candy box prevents oils from reaching and possibly damaging the outside of the packaging. Grease resistant liners may also aid in cleaning spills and leaks. Be sure to select a grease-resistant liner specifically for food use rather than its aesthetic value.

Rather than looking for one size fits all solutions for all types of candies, you must design your liner to fit and complement each specific candy. For example, hard candies may work fine in wrappers or bags which seal together within the candy box. For truffles, individual cups may be needed along with a soft foam pad at the top. When working with brittle candies, crumb issues may arise. In these cases, consider using a fitted tray or an inner wrap to contain potential spillage. Test a complete sample of your packaging system by filling it completely with the same items that customers would purchase prior to beginning production.

Once you fill a sample packaging system with candy items, carry it around your shop as if a customer had purchased it, drop it on the floor and turn it upside down several times. Afterward, inspect for any signs of oiliness on the outside surface of the box, lost crumbs, sticky candy pieces adhering to each other or the box, or paper dis-coloration. You can also test your packaging by leaving it filled and sitting for an amount of time comparable to how long an average customer would wait to consume their purchased goods.

Do not use tissues, printed papers, glue, or packing materials adjacent to bare candies without ensuring that all materials are suitable for food use and therefore safe for contact with edible products. Some ink and coatings applied to gift boxes may not be applicable to food-contact areas. Always maintain cleanliness, dryness, protection from strong odors and separation from foods with powerful aromas when storing your packing supplies. Odors can penetrate through packaged candies (even if visually clean).

Table with candies, food-safe cellophane, candy packs, and labels for packaging
A wooden table arranged with candy, packaging materials, and labels ready for wrapping.

Thoughtfully planned candy boxes accomplish much more than simply holding candies. Each candy gets a clean area to rest in; they help reduce messiness associated with packing; and they instill confidence in the purchaser that their purchase is safe and properly protected. Begin planning your candy boxes using one basic principle: “What comes into contact with the food?” Once you identify what comes into contact with the food, every cup, pad, liner and wrap then has a purposeful role (instead of merely decorative).