
When you pick up a candy box, it can either feel carefully thought out or simply thrown together. Often times this depends upon the mixture of candies in the box. While using the finest or rarest candies or expensive additions may help create a unique experience, creating a feeling of importance does not require these things. What is required is a basic strategy to give each candy its purpose in being part of the box.
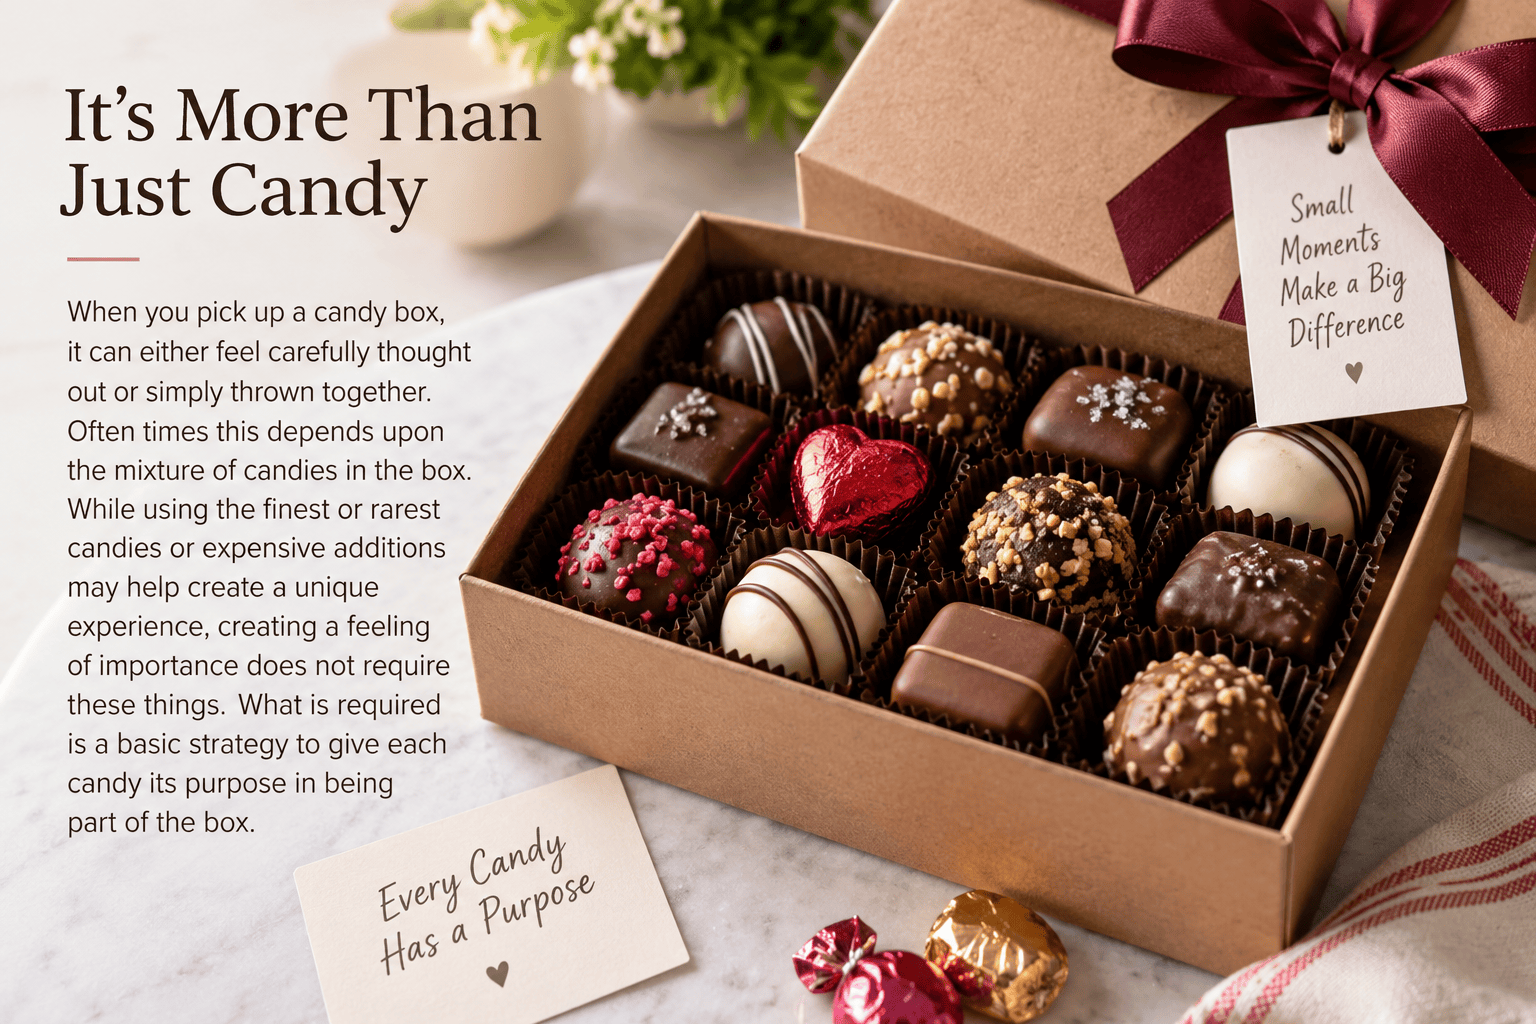
To begin, determine your target audience for the candy box. Young children’s candy boxes tend to have bright colors, soft textures, and familiar tastes. Adult candy boxes are generally darker chocolates, nuts, fruits, etc., with a variety of rich-tasting morsels. Shared candy boxes should contain multiple types of candies as this increases the chances that everyone will find something they like.
Next, consider how many different flavors you want to include in the candy box. There needs to be enough variety so that consumers feel there are adequate options; however, if there are too many varieties included in a relatively small box, it could appear chaotic and messy. On the other hand, having too little variety could cause the consumer to perceive the box as boring. One way to achieve a balance is to include one primary flavor type (main), two secondary flavors that complement the main (supporting) and one additional element to create a surprise. Chocolate could be considered the main option; Caramel and Peanut Butter would provide supporting elements; Lemon or Berry flavored candies would complete the arrangement by adding a contrasting flavor.
Consideration should also be given to color prior to putting the candy into the box. By alternating light and dark candies throughout the box, each candy will be easily visible. Instead of grouping similar colored candies at opposite ends of the box, distribute them evenly throughout the box to help create an overall sense of visual equilibrium.
Shape should also be taken into consideration. Alternating round candies with longer shaped candies, as well as square-shaped candies, creates a visually appealing combination. Begin arranging larger pieces of candy first, followed by smaller pieces to “fill-in” gaps. Before placing candies into actual boxes for distribution, try making a mock-up display on a flat surface (i.e., tray). Identifying overcrowding, areas without sufficient candy, etc. ahead-of-time allows for corrections to be made before actually distributing candy.
Some strong-flavored candies such as mint, coffee, and certain fruit-based candies can potentially alter the sensory perception of nearby candies. Strongly flavored candies should either be placed in individual wrappers or isolated from the rest of the milder candies. Additionally, candies containing common allergenic ingredients (e.g. peanuts, tree-nuts) should be clearly labeled so that individuals consuming them are aware of their potential allergy risks.
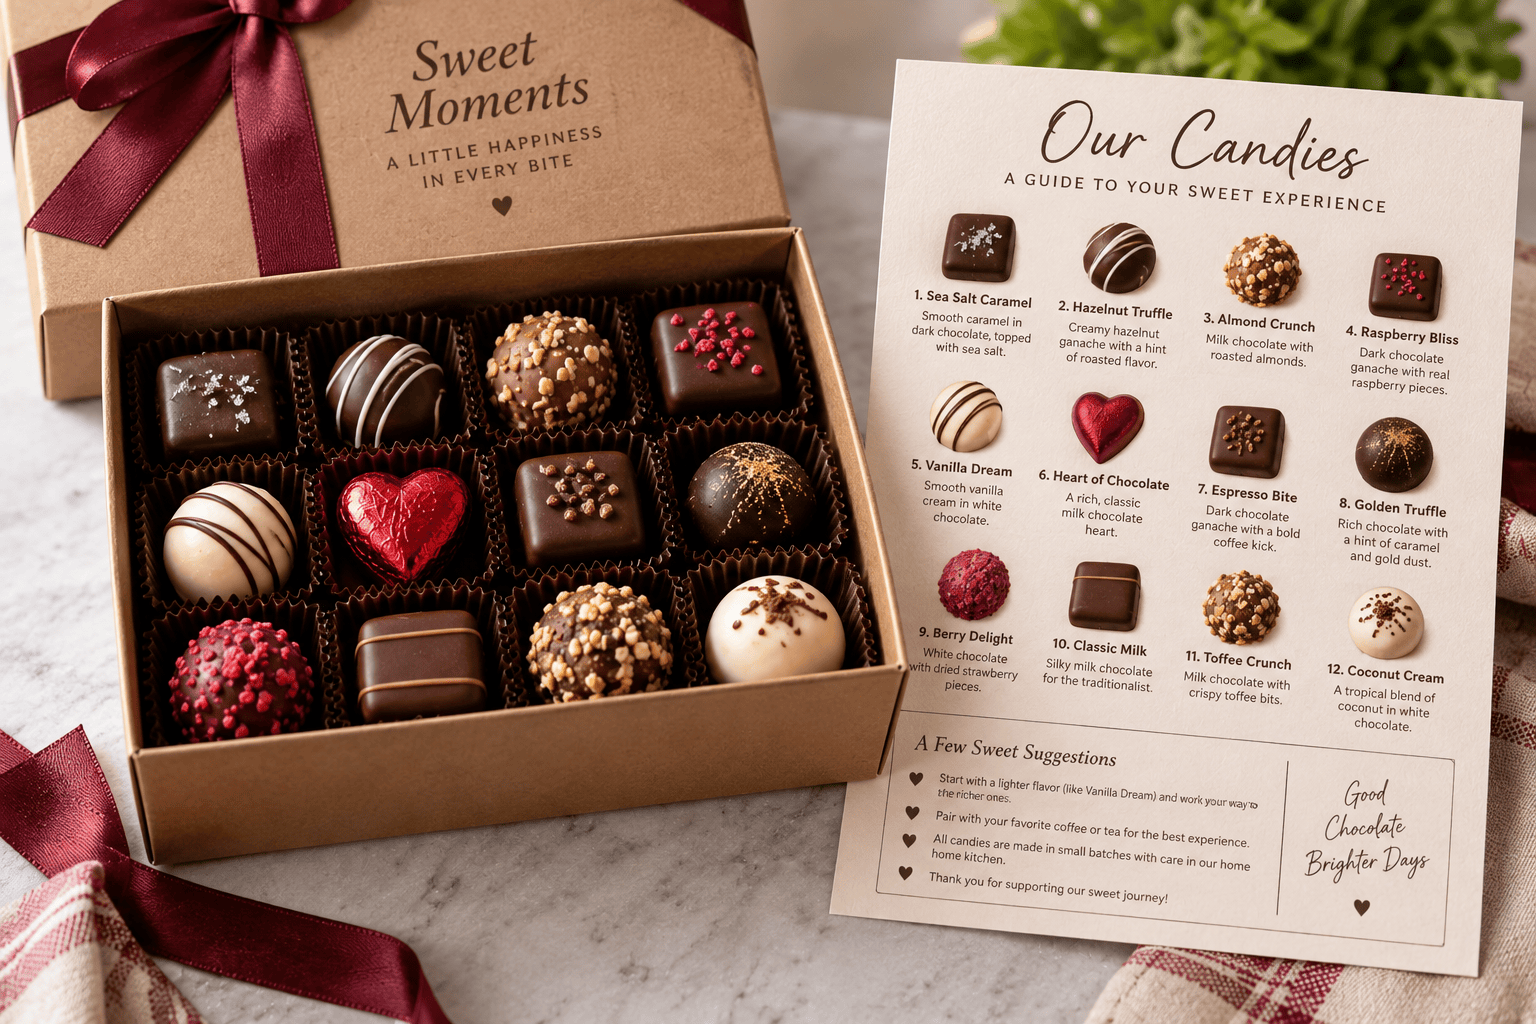
Lastly, create a brief paper menu outlining the various candies within the box. The menu can either describe each candy in sequence (left-to-right), or feature a simple illustration showing where each candy resides within the box. The inclusion of a menu provides guidance to consumers and enhances the perceived quality of the homemade product. Brief notes describing which candy to eat first, or sharing an interesting fact about the creator, etc. further enhance the presentation.
Ultimately, the ideal assortment is not one with the most candies; but rather one that appears thoughtful and intentional from the moment it is opened until the final piece has been consumed. Develop a strategy for selecting the flavors, colors, shape and order of placement prior to filling the box, and an assortment of common candies can be transformed into a memorable gift.